
Note that the only lab supported method for canning beans requires a pressure canner. Before you get started, ensure that you have a proper pressure canner at your disposal!
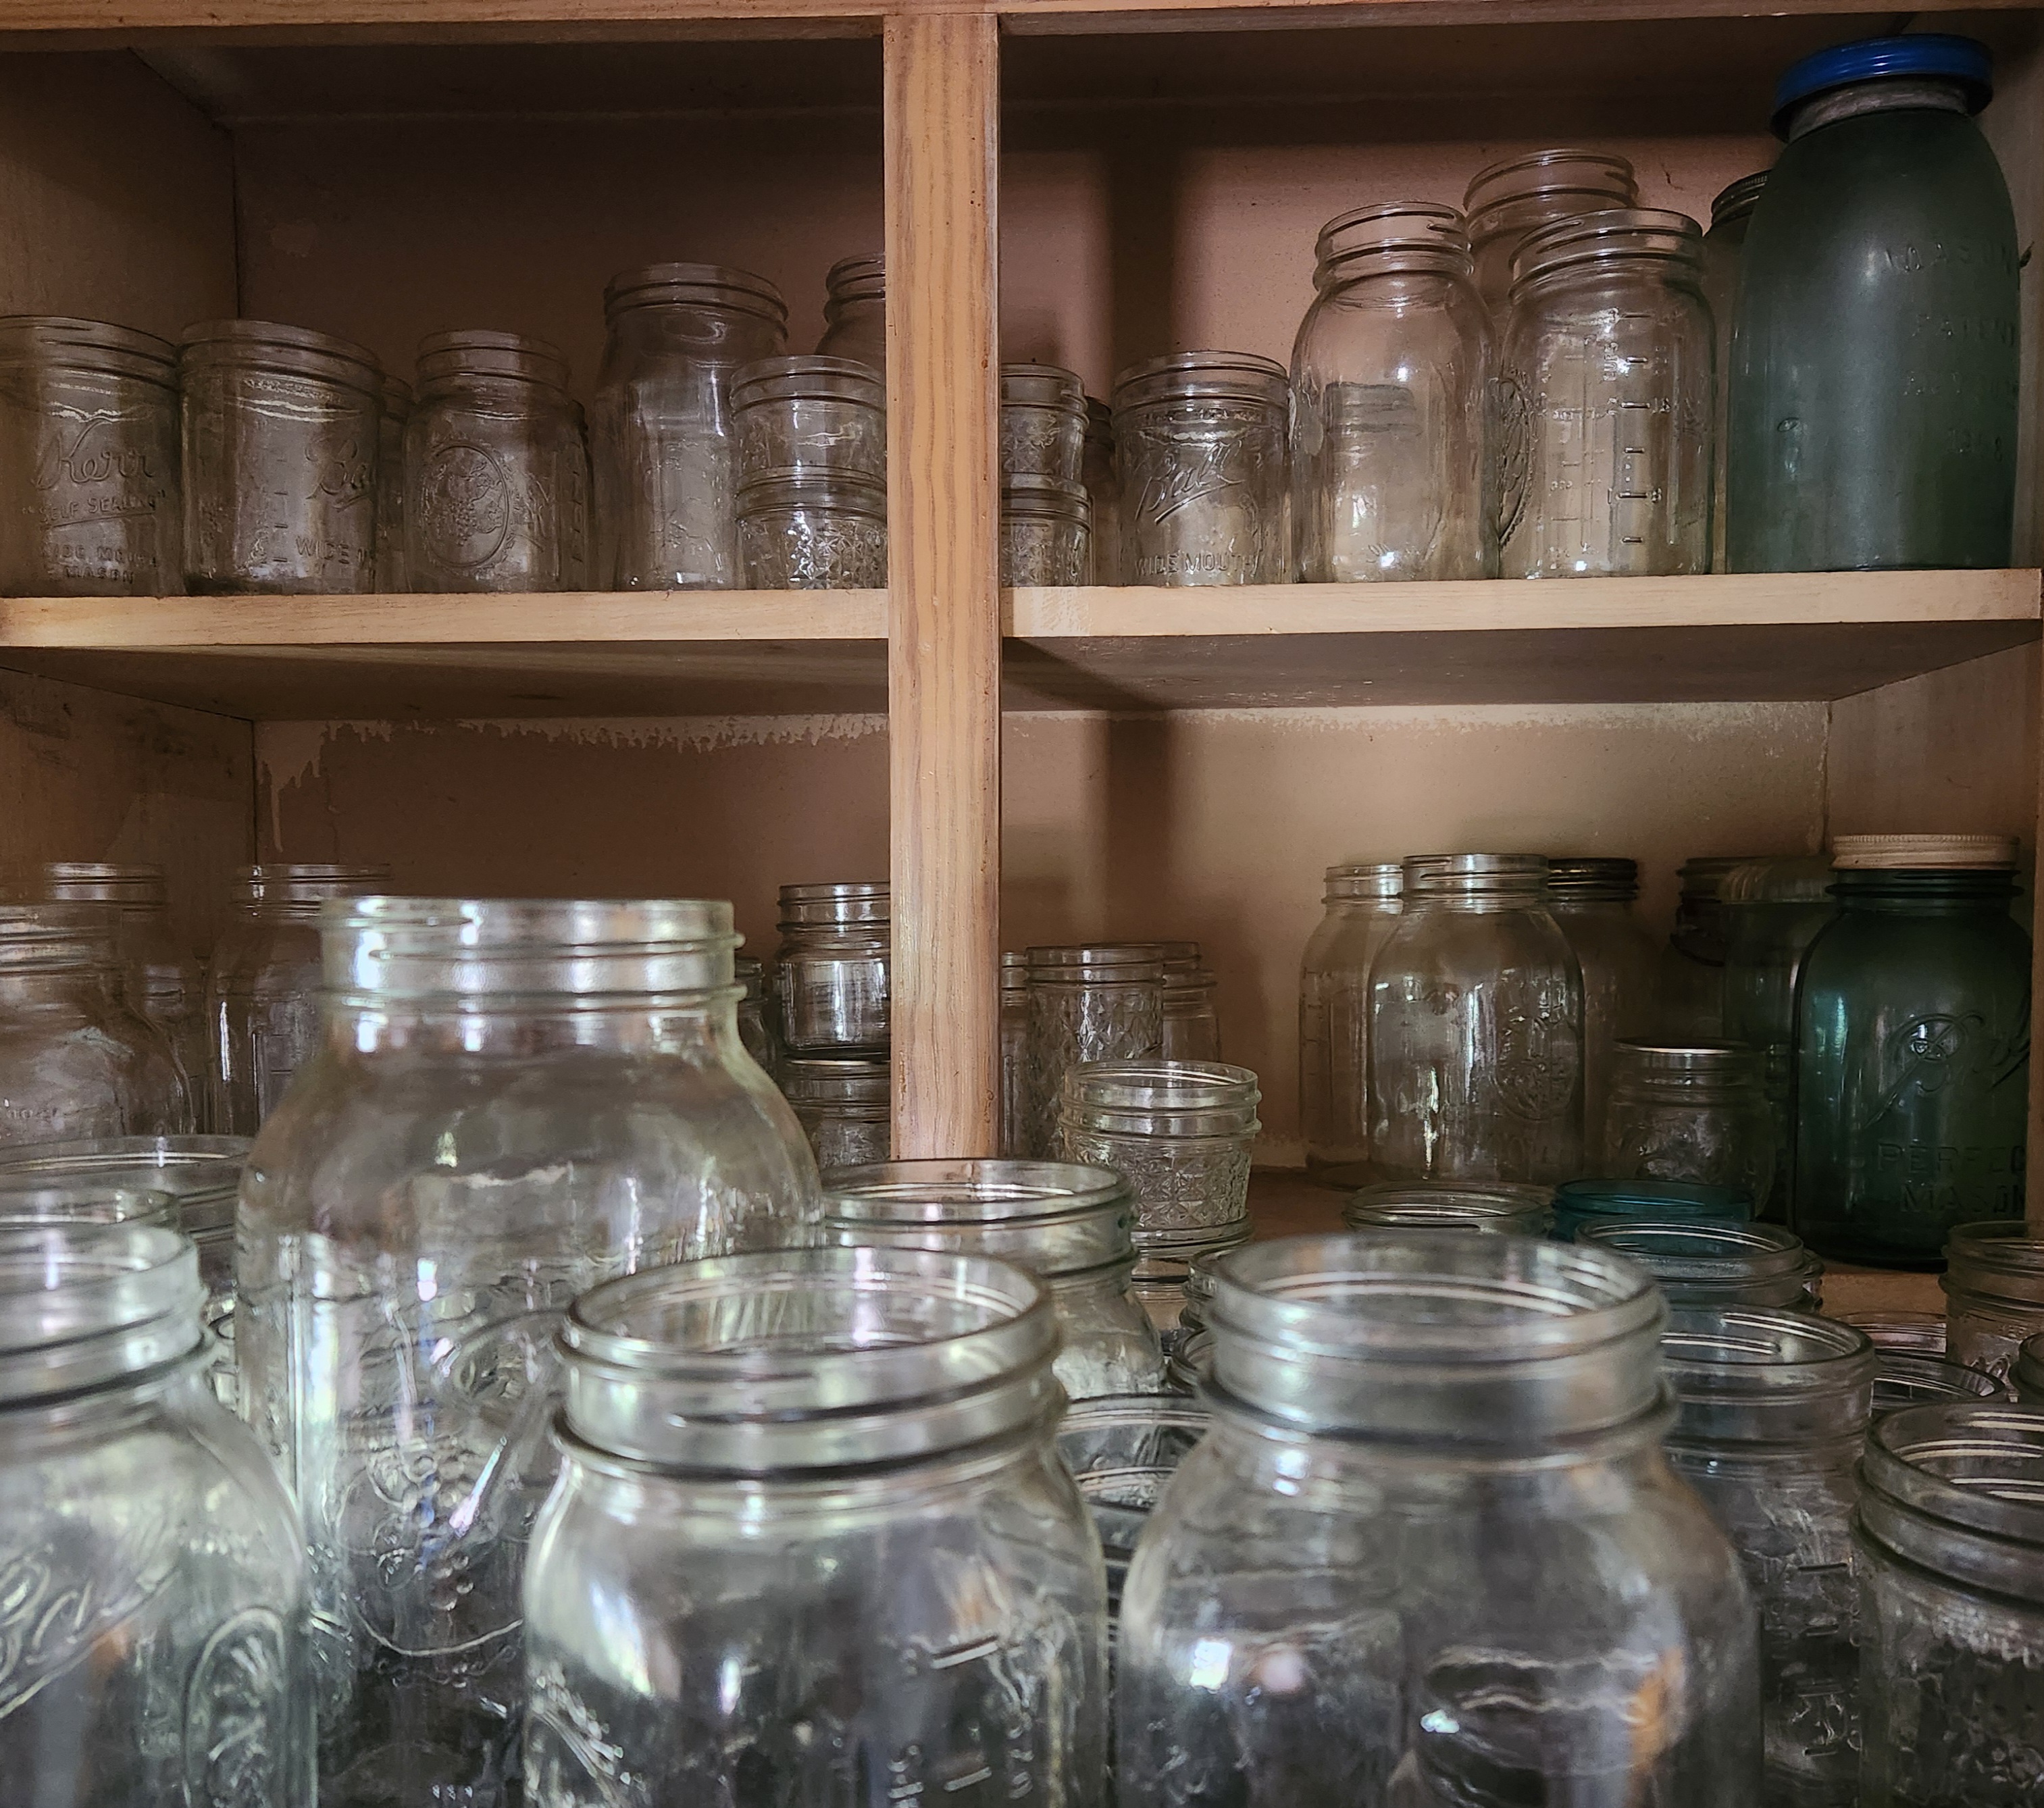
Down here in the south, there’s a popular commercially produced type of bean called “Ranch Style”. The most popular version comes in a black can. I didn’t eat these a lot growing up, but as an adult, I see the versatility of canned beans, and ranch style beans in particular. Their seasoning is neutral enough that they go well in many dishes, or as a stand-alone side dish. Beans are pretty cheap in the grocer, but preparing them at home is economical too. We are packing them in reusable jars (some of mine have been reused since the 60s and 70s, some are even older, but showing their age, and have been taken out of active rotation), and we have more control over what goes into the end product.
Now, I dunno about you, but I detest long life stories that take so long to get through that I’ve forgotten why I am even on the page in the first place, so in the spirit of NOT doing that, here’s the recipe. One little note before we get started, don’t be tempted to change out the dried spices for fresh. Moisture content could potentially alter the density of the components in the jar, and the pH of the water in the spices will also alter the pH of the resulting canned product making processing time and safety unknown.
I have added spices to match the commercial product as best I can, but you can always alter the dry spices to your tastes. Just keep in mind that some spices intensify in canning, and sugars can go from caramelized to burned for long processing times, so start with small adjustments. Look at this recipe as an optional addition for canning beans. For the canning process, head on over to NCHFP (The National Center for Home Food Preservation), or if you are like me, and prefer a physical version to stare at as you create chaos in your kitchen, here’s a link to the book I use the most in my collection. As an Amazon associate, I do earn from qualified purchases. Thank you for your support.
16 ounces dried pinto beans 1 15oz canned tomato sauce
3 TBSP chili powder 1 tsp apple cider vinegar
2 tsp garlic powder 1 C water
3 tsp onion powder 3-4 C chicken broth
1 tsp brown sugar
1 tsp paprika
1 tsp ground cumin
1/2 tsp dried oregano
1/2 tsp salt
1/2 tsp pepper
1 pinch saffron
There are two methods for rehydrating beans before parboiling and processing them. One is the “quick method”, the other is the overnight soak method. It sounds counter-intuitive, but the overnight soak method produces beans that have a better texture and hold together instead of breaking apart and turning into sad bean mush. Either method results in a safe product according to the canning authorities. I prefer the long method if I remember to plan ahead.
While the beans are parboiling, I use a stock pot to mix the dry spices into the wet ingredients (don’t substitute fresh spices in this recipe-the moisture in fresh spices can potentially change the density of the components in the jar). This mixture needs to be nice and hot when prepping jars for the canner. Once the spice mixture is hot, and the beans are done parboiling, I will mix the beans into the spices, and ladle into jars. I will also have additional stock on hand to top the jars up to the appropriate head space as needed.
“staging” jars (setting them all out, filling them all up at the same time, then loading a bunch of filled jars into the canner all at once) isn’t recommended, as it can lead to the food cooling below the starting temperature for canning, and thermal shock, which may cause jars to shatter while being processed.
I use an electric roasting pan with a couple inches of water in it to keep my food and jars hot while I am filling. This way, I can get approximately the same measure of beans in each jar. I don’t fill beans all the way up to the one inch head space (1 inch of head space is approximately the first thick ring at the base of the neck of the jar), as they will swell a bit more during processing. I do make sure to fill up to that line with broth, and de-bubble my jars to make sure I am starting at the correct head space. not just because I want to keep an eye on siphoning, but because head space measure for recipes affects the strength of the vacuum created in the jar during processing.
Don’t be surprised if your headspace looks right when you pull your jars out of the canner, but then recedes as the jars cool. Not only are the beans absorbing some of that liquid, but as the vacuum in the jar gets established, the contents of the jar get “sucked down” a bit. This is one reason not to fill the jar up to the 1 inch head space mark with beans. Especially if you aren’t using wide mouth jars. Beans can get packed in and difficult to get out of the jars, but no worries, the recipe was tested as written, so your beans should be wholesome.
If you do get some siphoning, the beans sticking above the liquid may discolor over time. They look weird, but they are still okay to eat. If more than half the liquid has gone from your jars by the time everything has cooled and settled, those jars aren’t shelf stable, I recommend popping the tops and sticking them in the fridge to use up first.
Make a one-time donation
Make a monthly donation
Make a yearly donation
Choose an amount
Or enter a custom amount
Your contribution is appreciated.
Your contribution is appreciated.
Your contribution is appreciated.
DonateDonate monthlyDonate yearly

Leave a Reply