Garlic is one of my favorite staples to grow. It’s long-lasting, and low maintenance. A dollar a head seems expensive from the grocer with the amount of garlic we go through! I started out buying a pound of seed garlic and crossing my fingers. It seemed like back then, not many people went through the effort of growing garlic, or if they did, they weren’t writing it down for others.

In Texas, it seems that gardening in general is difficult, no matter if we are talking about vegetables, fruits, or flowers. Garlic seems to be an exception. And the best part is that in our warmer climate, soft-neck varieties do really well. That means the variety we get to work with in Texas is one that stores longer and braids easily.
Individual cloves are planted pointy side up in fall, and harvested as fully developed heads of garlic around June. I am not a meticulous gardener. I am more of what could be described as a chaos gardener. I don’t maintain neat rows, I don’t keep everything free of weeds, and I certainly don’t maintain a pruning schedule. This is why me and garlic are such good friends. You plant it, throw some straw over it, and ignore it until summer when it looks dead/dying. Then it’s ready.
Most years, it’s a very reliable crop but like all things gardening in Texas, there’s always that chance that it won’t produce. that was the case last year for me. Most of my garlic heads ended up about the size of a silver dollar. Not really fun to try to use an entire head of tiny cloves every time I cooked a meal. My saving grace was that I planted more than one variety. I know I said soft-necks do better in Texas, but there’s an exception. Thai Fire, developed in warm, balmy Thailand is a hard-neck variety adapted to warmer climates. Though Texas may not be as humid as Thailand, it certainly has the heat component.
Last year, Thai Fire was the only variety of garlic in my garden that produced “normal” sized heads with nice cloves. This is partly because my current garden is so new. Only about 3 years old now. We are still working on regenerating that wonderful rich top soil that produces amazing fruits and vegetables consistently. Thanks, chickens, for the hand with that!
This year, though I misplaced my variety label sheet, all of the garlic varieties did wonderfully. Thai Fire included.

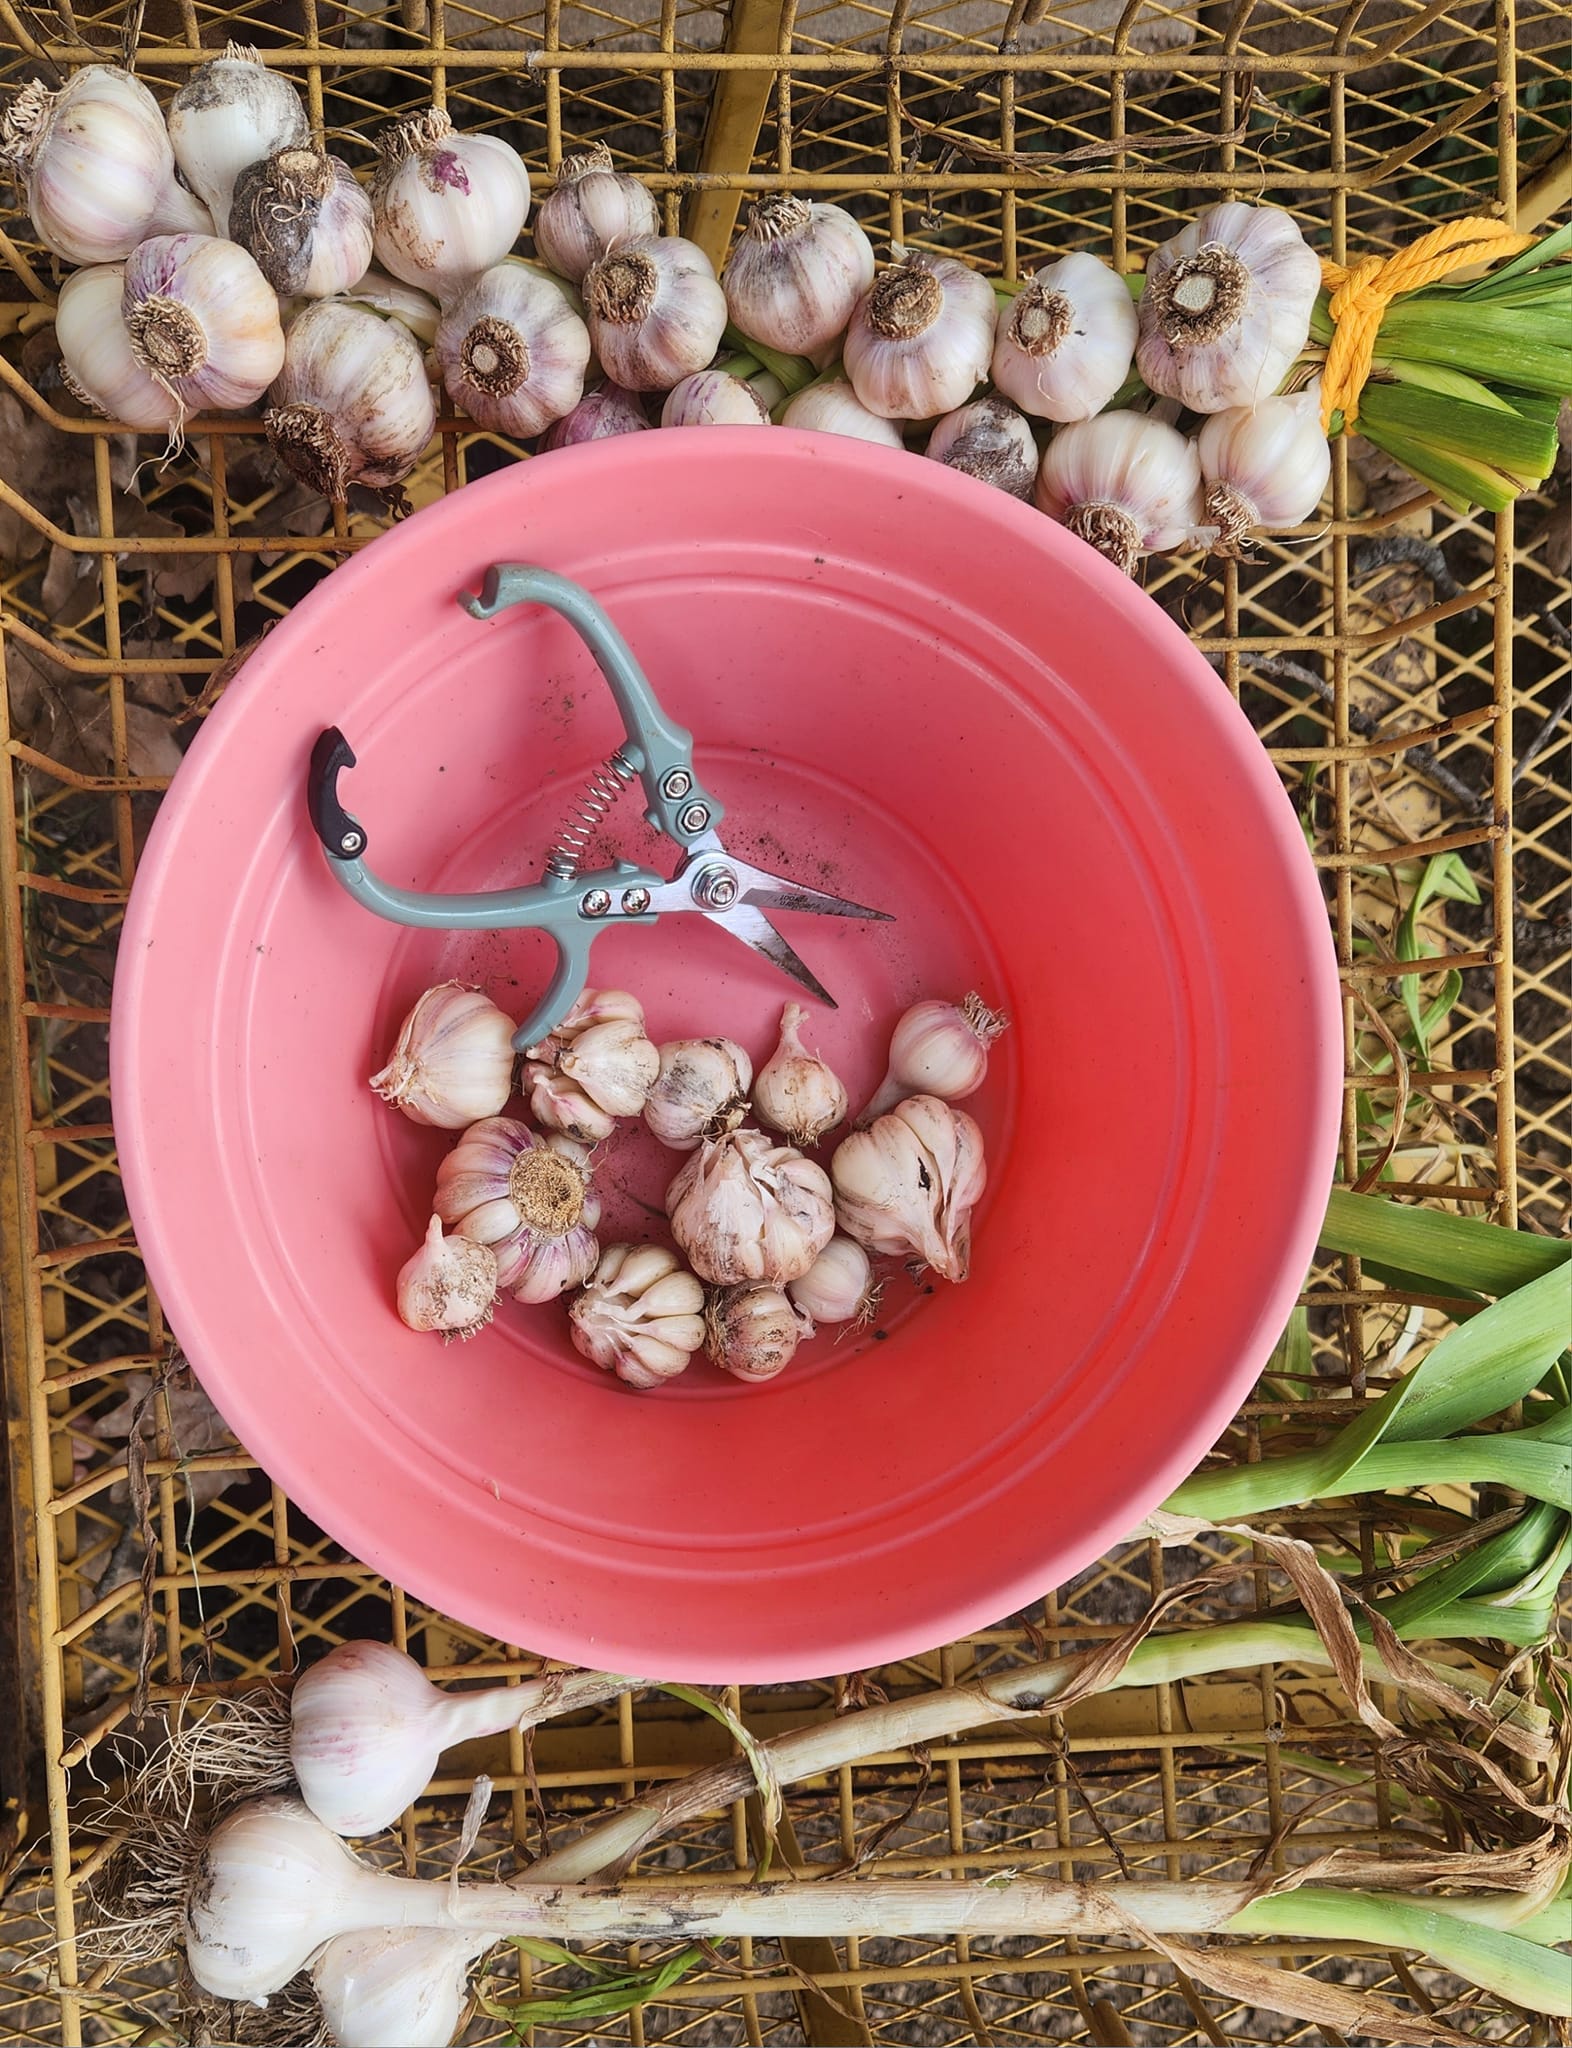
Of course, not all the garlic heads are of good size, but I will be rinsing those off, and using them immediately rather than going through the entire process with them. I keep a small bowl on my kitchen counter for the heads that aren’t large enough to bother curing and braiding. All parts of the garlic plant can be used in cooking at any stage of growth.
When they first come out of the ground, I load them into my gorilla cart and haul them over to an expanded metal rack to (gently) rinse the soil off. Some people wait until the garlic is cured to remove the majority of the soil, but I have found it is harder to get all of the soil off for the curing and braiding process so I give them a gentle rinse before the cure. This has to be done with care, so as not to slip the skins off the newly exposed garlic heads. The skins are part of the reason garlic keeps for so long.

Once they are mostly clean (don’t worry about getting them spotless at this point. Too much messing with the fresh garlic can damage it), I leave them on the wire rack in a covered area outside for a few days. Once the outer skins feel papery, a bit loose, and dry, they are ready for final cleaning, trimming, and storage.
I like to trim the roots and gently scrub the soil off the outer skin with cool water and a soft bristled brush. Once they’ve been scrubbed, I peel a few leaves off the base of the stalk, and the papery cover connected to them over the head. Do not fully expose the individual wrappers on the cloves, as this papery cover is part of the storage potential of garlic. I simply peel the outermost layer away to remove the remaining soil and debris. This creates a cleaner looking end product that is much easier to use when you go to cook with it.

The upper garlic in the above photo is before the final clean, and the lower group is after. Once they have been cleaned, trimmed, and peeled, they’re ready to braid (Note that some garlic varieties do not braid well at all. Make sure you are working with a soft-neck variety). I like to braid them in groups of 12, as it is an even number, divisible by three, which makes it easy for me to figure out how many heads of garlic I have in storage for the season. We go through a lot of garlic, so I like to have about 50 heads saved for personal use until next year’s harvest, and usually, we *just* make it before the stored garlic starts sprouting a bit. We still use it of course, just know that once it begins sprouting, it’s storage life is coming to an end.
Sometimes, I make much larger garlic braids like this one, but I prefer the smaller bundles. They are not only easier to keep count of, but they are easier to store.

This was one of my earlier attempts at garlic storage, and I made several mistakes. First, the braid was too many garlic heads, and made storage less convenient. Second, I did not wait long enough to braid. You can see that the greens are still quite plump, so when they dried out, the braid became loose. Third, I did not take the time to do a final clean and peel, which meant every time I used these garlics, little grains of soil (stuck in the remainder of the roots) would fall off onto my cutting board, making it very hard to not get grit into whatever I was making. The garlic in the pink bowl were heads that I either pulled too hard on and broke off in the soil, or was too vigorous in my initial rinse and removed too much of the protective paper wrapper. Those were used first.
When braiding garlic, I first separate heads into like sizes before choosing a mid to large head to be the apex of the garlic braid. I hold it with the root stub pointed up, then choose the other two starting garlics. The garlic stalks crossed like the start of a hair braid, fold the side one across the center line, then add a new head of garlic. Try to place the base of the stalk as close as possible to the original folded stalk before repeating the process. The tighter you can keep the garlic bases to the core of the braid, the better they will store.
Once I complete my braid, I wrap cotton or jute cord tightly around the stalks, add a loop, then hang the braid to dry. The other method to braid garlic is to make a long loop of cord, then leaving about an inch of stalk on each head, begin by making a tight loop around the stalk base of the apex garlic, then twist the garlic back through the loop (to create a figure 8 of cord around the stalk), then continue this with each subsequent garlic head. This method allows for the hanging loop to be built in by the time you are done. again, each garlic head should be placed nice and tight to the one before it. The problem here is if you do not make the loops over the stems tight enough, over time, as the stalks dry, the garlic heads may fall out of the cord. Either method sounds difficult and takes practice, but once you get it, it’s smooth sailing.

Leave a Reply